MailerLite Welcome Email Automation: Build a 3-Email Sequence
Create a MailerLite automation triggered by Joins a group, send a helpful first email, add delays for follow-ups, and test double opt-in before publishing the signup form.
How to create an automated welcome email in MailerLite
To welcome new subscribers automatically in the current MailerLite, create a dedicated subscriber group, connect your signup form to that group, open Automations, and create a workflow triggered by Joins a group. Add a Send email step, write the subject and message, and activate the workflow. To build a sequence, insert Delay steps and additional emails rather than placing all the messages back to back.
This article is about the first experience after signup: delivery timing, helpful content, consent, and troubleshooting. It is distinct from Claim26's general MailerLite automation guide, the double opt-in setup guide, and its CSV import tutorial. Procedures below follow MailerLite's official help articles; no customer account was used or email delivery rate measured by Claim26.
Decide what a successful welcome sequence should do
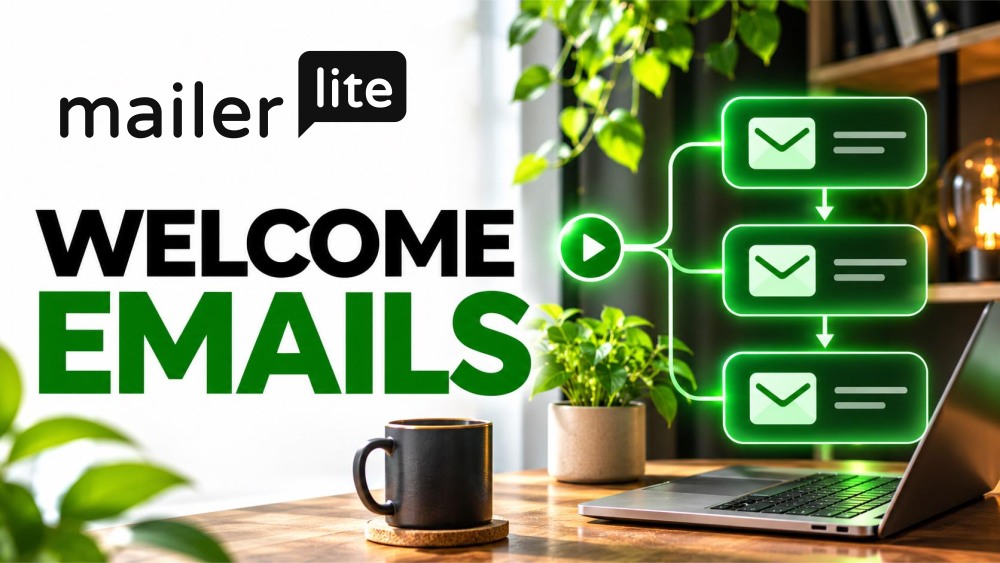
A welcome sequence should confirm why the person subscribed, deliver the promised resource, give one sensible next step, and establish what messages they will receive. A single email may be sufficient for a small newsletter. A three-email sequence is more useful when newcomers need onboarding, a tutorial and an introduction to the next offer or resource.
An example for a creator selling a digital workbook: email one delivers the download and sets expectations; email two offers a short practical exercise; email three answers a frequent question and links to a relevant product page. This is an illustrative editorial example, not a tested conversion funnel. Keep the sequence consistent with the permission given on the form.
Step 1: Create a subscriber group for your new signups
In MailerLite, open Subscribers and create a group with a specific role, such as Newsletter — New Readers or Free Workbook Subscribers. Assign the relevant form or landing page to add people to that group. Groups are deliberate labels you control, whereas segments are dynamically defined by conditions. A group gives a reliable entry event for a welcome workflow.
For a business collecting signups from several forms, decide whether all newcomers should receive the same onboarding or whether separate groups are needed. Don't use a general group when different promises require different first emails. If you collect an address via an external integration or API, verify that the integration actually assigns the chosen group; creating a workflow alone does not connect an outside form.
Step 2: Create the workflow and use Joins a group
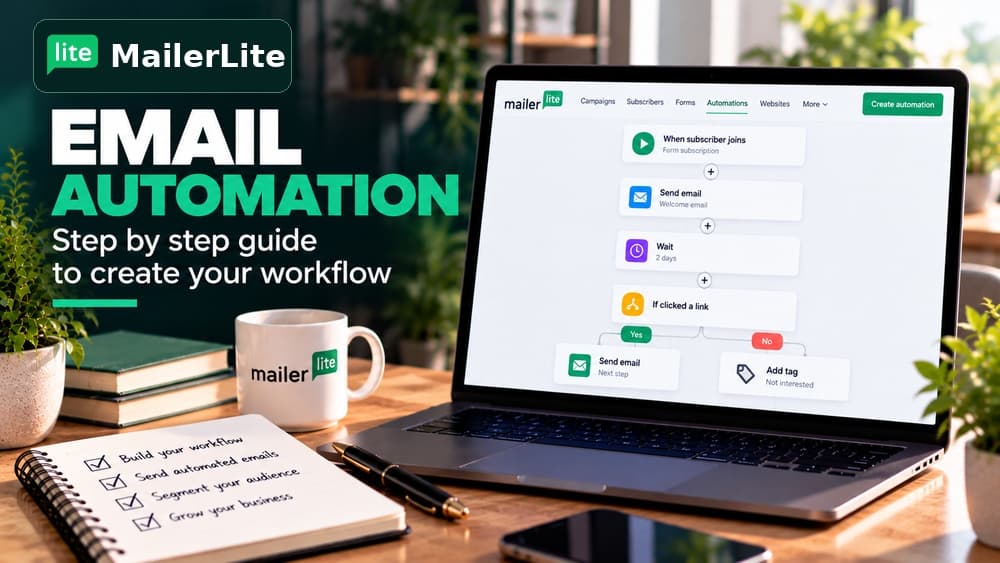
Navigate to Automations, choose Create workflow, and start from scratch or select the Simple welcome email template. Choose the Joins a group trigger and the group you prepared. MailerLite's official template uses this trigger; you can change it to Completes a form for a single controlled signup source. Set the trigger before designing the email so the exact entry conditions are clear.
A group-based trigger is particularly useful when multiple signup forms use double opt-in. MailerLite warns that only the automation associated with the specific form on which the person confirmed their address may trigger. A shared group trigger is the recommended option when you want a consistent welcome flow across several forms. Sources: https://www.mailerlite.com/help/how-to-use-double-opt-in-when-collecting-subscribers and https://www.mailerlite.com/help/how-to-set-up-automation-triggers.
Step 3: Write the first email and deliver the promised resource
Add a Send email action. Enter an honest subject, sender name and sender address, and open the email editor. An example subject for a free guide could be: Welcome — here is the checklist you requested. In the body, use a brief greeting, the promised download link, one sentence explaining the next email, and an unsubscribe option supplied by the platform.
Illustrative welcome copy: Thanks for joining. Here is the website checklist mentioned on the signup page. Start with section one; in two days we'll share a short example of how to apply it. You can leave the newsletter at any time. The example is not an actual campaign and does not claim proven open rates. Test every file link and use a sender domain that MailerLite accepts and authenticates.
Step 4: Build a three-email series with intentional delays
The most common sequencing error is inserting multiple Send email actions with no pause between them. MailerLite says consecutive steps run immediately, so the recipient can receive every message together. Place a Delay rule after email one, then email two, another Delay, and email three. Set the interval to match the resource and audience rather than choosing a generic marketing formula.
For example, send the welcome email at entry; after two days send a practical example; after another two or three days send a focused next step. These delays are illustrative, not performance recommendations from a controlled experiment. Write each message so it still makes sense independently, and stop the sequence from promising future emails you have not actually prepared. Official workflow guide: https://www.mailerlite.com/help/how-to-create-an-automation-workflow.
Step 5: Set up double opt-in without accidentally emailing unconfirmed contacts
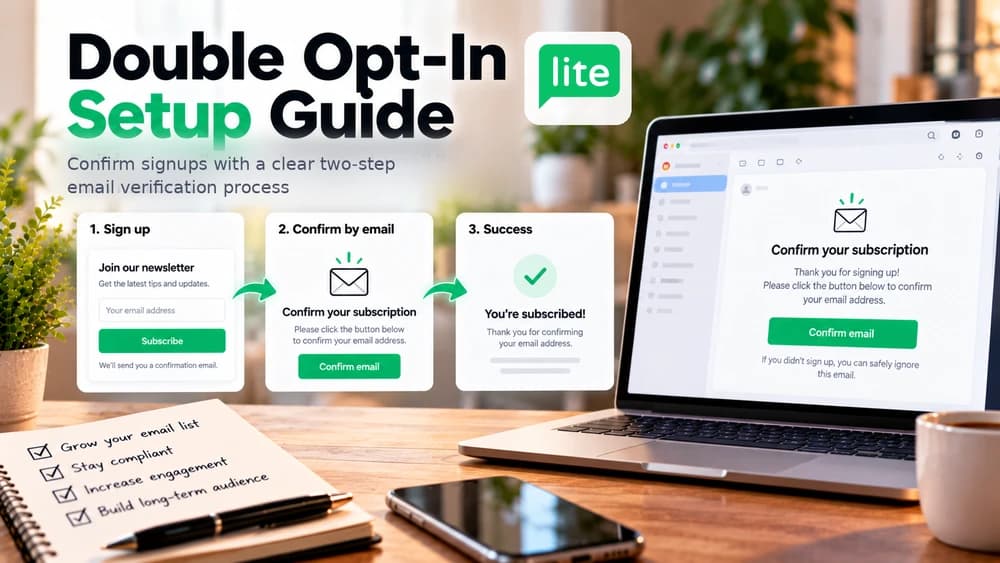
When double opt-in is enabled, the new person enters their address and must click the confirmation link before becoming an active subscriber. The confirmation email is not the same as the welcome email. MailerLite's automation FAQ says that unconfirmed subscribers do not receive ordinary campaigns or automated welcome messages until confirmation.
Test the complete path: form submission, confirmation email, confirmation click, group membership, and the first welcome message. With multiple forms and double opt-in, prefer a group-based trigger to prevent form-specific routing surprises. An existing active subscriber signing up again can behave differently from a brand-new address, so perform a clean signup test as well as an existing-contact test. Source: https://www.mailerlite.com/help/automations-faq.
Step 6: Activate the workflow and choose how to handle existing subscribers
Finish every email and delay, then press Activate. MailerLite may ask whether to enroll earlier subscribers who already meet the entry conditions. Choose Only add new subscribers when the sequence is intended to begin with future signups. Adding existing contacts immediately can be inappropriate if they already received the resource, subscribed under a different promise, or lack the required consent for that content.
If there is a legitimate reason to include older subscribers, use the platform's controlled Add subscribers feature or its activation options after reviewing eligibility and the exact starting step. Never assume a workflow retroactively sends a welcome to everyone in the account. MailerLite documents separate manual-entry options and restrictions for people already in a workflow. Source: https://www.mailerlite.com/help/how-to-add-existing-subscribers-to-a-workflow.
What MailerLite's Free plan allows in 2026
MailerLite updated its free plan on June 16, 2026. The vendor documents up to three active automations, 250 active subscribers, and 2,500 monthly emails on the current free plan. This is enough to experiment with one focused welcome workflow if the account meets other limits, but three automations is not the same thing as three steps inside a workflow.
Don't confuse the free Simple welcome email template with the advanced workflow that uses several entry triggers. MailerLite labels the simple welcome template Free, while its advanced welcome template is marked for the Power plan because it uses multiple triggers. A free account can still use a single Joins a group trigger for the core workflow. Review current plan terms before subscribing; offers and limits can change. Sources: https://www.mailerlite.com/help/free-plan-update-faq and https://www.mailerlite.com/automation-templates/advanced-welcome-sequence.
Check re-entry, duplicate welcome messages and list imports
MailerLite provides an Allow subscribers re-enter automation setting on group triggers. Leave it disabled for a one-time welcome unless you intentionally want the same subscriber to repeat the flow. Before activating other automations, inspect whether they already trigger on the same group or form, since overlapping workflows can send redundant messages.
CSV imports require separate care: importing addresses and assigning them to a group does not mean every subscriber should receive a brand-new welcome sequence. Verify consent and use the applicable import/entry options rather than recreating the signup experience without notice. If the imported contacts are not brand new, consider a clearly identified reintroduction campaign instead of a hidden onboarding flow.
Troubleshoot a welcome email that never arrives
Work through the causes in order: Is the automation in Workflows rather than Drafts? Is it activated? Is the subscriber active or still unconfirmed? Did the correct form add that person to the trigger group? Was the subscriber already in the workflow? Is a Delay or Condition preventing progress? Is the email step completed and connected? MailerLite's Activity tab helps identify the point where the person stopped.
A completed welcome email can still fail to reach the inbox because of authentication, spam filtering or address problems. Check MailerLite's sender-domain guidance and the form's confirmation-email troubleshooting documentation rather than claiming the workflow is broken from one test. For an isolated setup test, MailerLite documents using plus-address variations when the receiving email provider supports them, but avoid creating fake subscriber traffic or polluting real audience statistics.
Test the whole flow before sending people to the signup page
Use a test address you control, with a new identity that has not completed this automation. Submit the form, confirm if double opt-in is enabled, and inspect the subscriber's group membership and the Activity record. Verify the first email's sender, links, spelling, mobile formatting, and unsubscribe footer. Then validate the later emails and delays in a deliberate test environment or by reviewing each configured step.
Use a second controlled address to test edge cases: no confirmation, a missing group assignment, or an already active subscriber. The positive test should receive the intended first welcome after eligibility is met; a negative test should not send the full series to an unconfirmed contact. The timings and results described here are a proposed acceptance checklist, not tests Claim26 actually ran.
A short decision checklist before upgrading
Keep the first version simple: one entry group, one welcome email, and a small number of purposeful follow-ups. Measure real results such as genuine replies, download completion and unsubscribe feedback rather than treating a high open rate as the only definition of success. Expand only when the additional steps have a clear use, and don't add unrelated sales messages to a list that consented only to receive a free resource.
Use MailerLite's free plan while your workflow fits the documented limits. Consider a paid plan only if you specifically need more automations, volume or advanced multiple-trigger features. Claim26 may earn a commission from qualifying MailerLite subscriptions via its disclosed partner links, at no extra charge to you. Claim26 did not operate a live MailerLite account or collect experimental results for this guide.
Check these four signals.
✓Connect a real signup group to the workflow
✓Send one useful welcome email immediately after eligibility
✓Add delays to avoid multiple messages at once
✓Check double opt-in and Free-plan limits
The safest way to choose is to build a small real-world workflow.
Test the part of the customer journey that matters most before moving your entire system.
Official sources for this guide
Software pricing and features can change. Review the official documentation below before choosing a product or plan.